
We’re experts when it comes to vintage watch repair and restoration - if you’d like to know more about having your own watch repaired, you can read through our landing page here. Don’t forget that if you have any repair requirements, you can contact us here to discuss - we’d love to hear from you and help get your watch running smoothly once again.
Today we’re highlighting a single repair done as part of a service. It’s not something I’ve had to do before as I have never seen wear this bad on a centre wheel - it looks almost like an apple core.
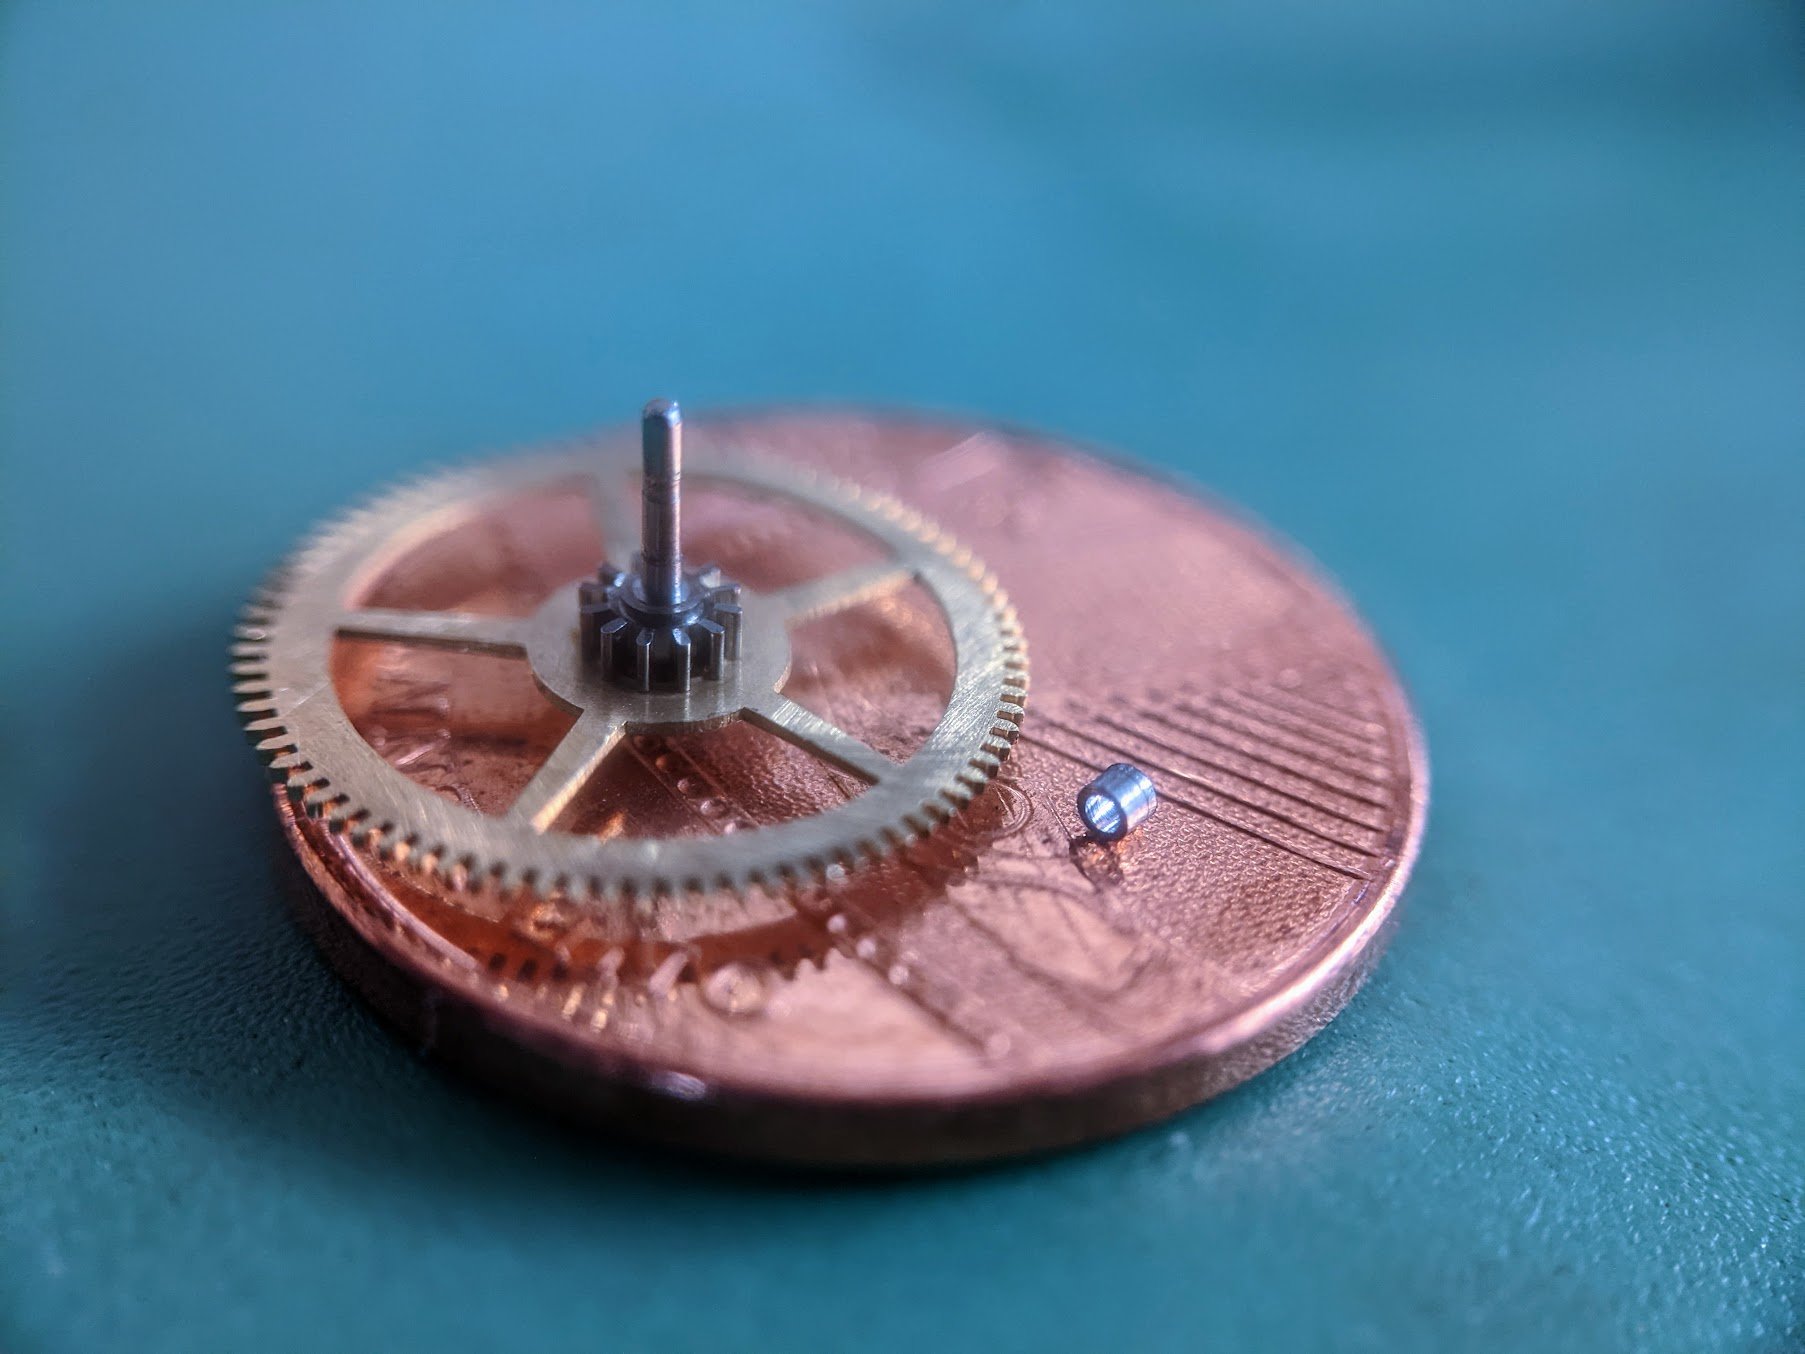
When repairing something like this, I needed to think about the best approach. Normally when replacing a pivot you would turn off the old one, drill a hole in the arbor, and press in some new material which would be turned and burnished to size. In this situation, that would mean also replacing the extended centre wheel post onto which the canon pinion is fitted. This is a surprisingly complex part with a very gentle taper and a small notch onto which the pinion clips on; the geometry of this is incredibly important to ensure everything fits behind the dial, allowing slipping enough so that the hand setting mechanism works but with enough friction to ensure the hands don’t slip in normal use. Making a replacement for this part would be possible of course, but would also mean replacing over half of the material in the centre wheel. With that in mind I thought I would try something different; making a press-fitted sleeve to replace the pivot material, sort of like a bush that would normally be fitted into a watch or clock plate.
The first step was to measure all the particular parts. Most importantly, the outer diameter of the remaining pivot material (0.998mm) and the diameter of the base of the taper (0.650mm). I turned down what remained of the pivot to be just slightly bigger than the taper, to 0.71mm, this would allow me to press-fit a sleeve with a 0.7mm hole, which would have a tight enough fit to be secure. I turned this and gave it an OD of 1.02mm; this extra material would allow me to burnish the new surface to the final diameter, which would make the outside ‘skin’ of the metal very hard and with a very smooth surface finish.
The sleeve was parted off, and could then be gently pressed home inside a staking set. It wasn’t easy to measure the exact length of the pivot and I knew that burnishing could create a burr on the side, so I purposefully made it about 0.1mm longer than I thought it needed to be. This would allow me to turn this small amount of extra material away to make the pivot the final length with no burrs.

With the sleeve fitted and burnished to final size, it’s ready to be fitted back into the watch. I suspect the huge wear on the original pivot was the result of poor servicing - and there was more evidence to back this up throughout the watch. Here’s hoping this is the start of a new lease of life for the watch and an easier time now it’s been carefully and properly serviced and repaired.