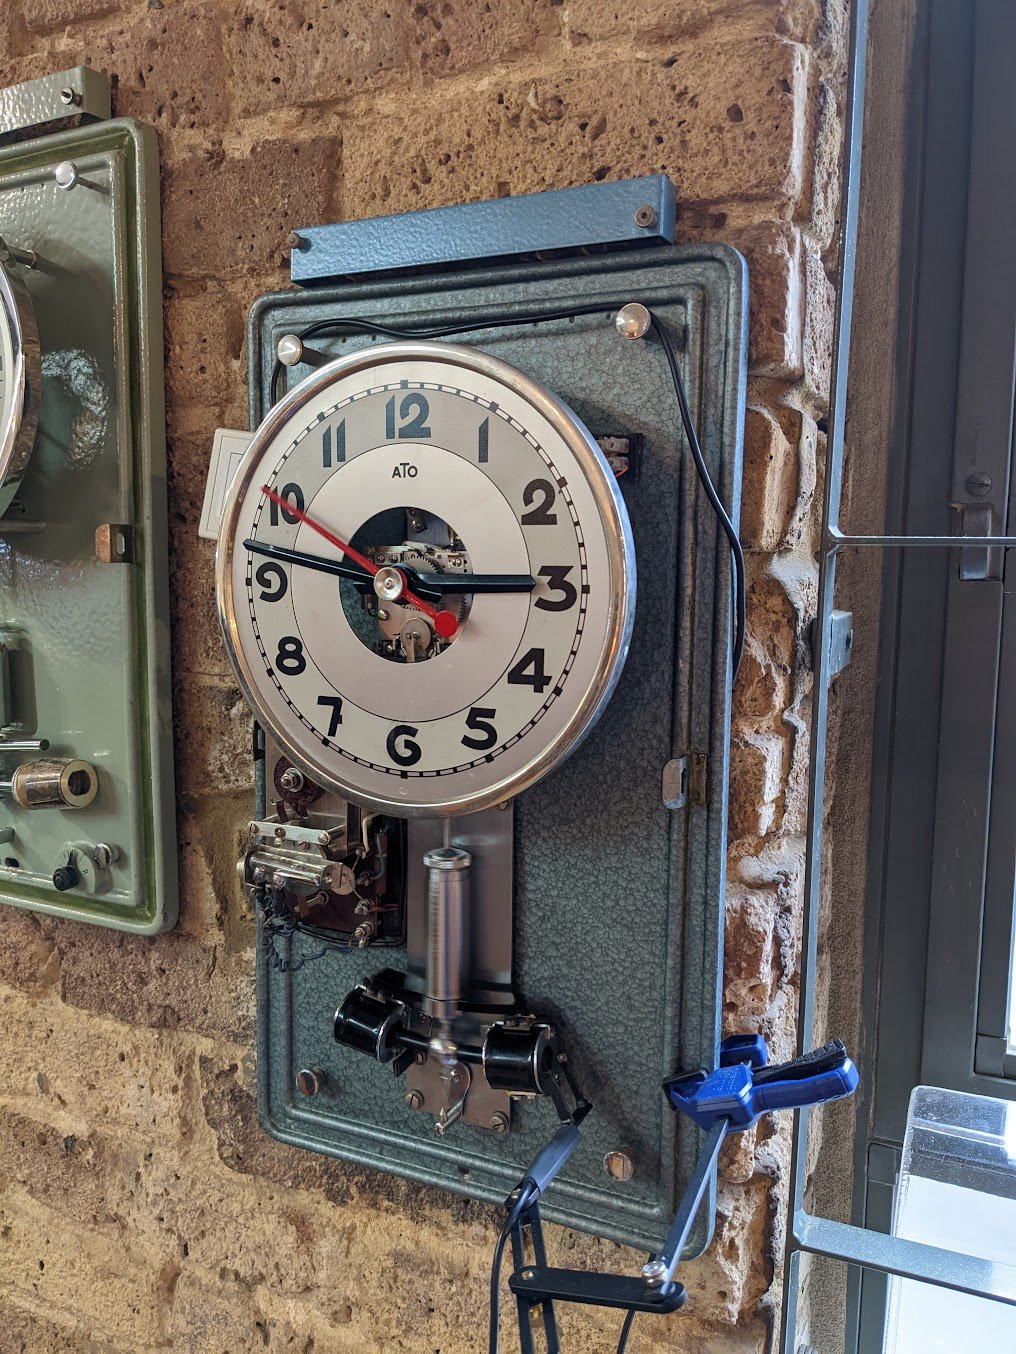
I’ve finally bought myself my first clock - an ATO electric clock from the mid 20th century, with this beautiful hammered effect backboard and domed acrylic front. Very evocative of the domed plexiglass seen on watches of the period.
Most clocks that pass through the workshop need some attention and of course this was no different. I was pleased that even with a thick layer of grime and grease the clock would run intermittently. It was clear that to run reliably the clock would require some cleaning and come removal of some areas of rust - it had to go before it could get any worse.
Finally the original ATO hand was missing and a frankenstein one had been fitted, made from a plastic quartz clock hand - this wouldn’t do and I knew that I would need to make a replacement.
Servicing and Cleaning
You can clearly see all the dust and dirt stuck to the plates and wheels, with some areas of rust beginning to form on some of the steel work.
One somewhat unique feature in this particular clock is this separate signaling switch, driven by the clock’s built-in half second circuit, which drives a stepper motor. This then physically tips a mercury switch every 20 seconds which would have been used to send a signal. It is possible that this had a mains power connection due to the thick wiring used; the mercury switch would have easily handled the 240v mains too. I got this working, and may use it (with lower voltages) to power some sort of slave dials in future.
ATO clocks often have the facilities to create or send signals at multiple intervals, namely half seconds and 30 seconds. They also have the facility for one clock to function as a ‘master’ which drives the impulse coils of a network of other ATO clocks. Below is a sneak peak into the nest of wires behind the plates that makes this all possible.
Making a replacement hand
On to the exciting part, making the second hand. The hand on an ato clock is quite complex and consists of a stamped aluminium body, a small brass counterweight and a knurled centre boss which is nickel plated brass.
Making the tooling for stamping a single hand would be way over the top - it’s only sensible when making hundreds or thousands of times, and so I instead elected to have a few sets of hands laser cut to my own drawing. I had seconds, minutes and hours made in case I need them in future. I expect the originals would have been cut and folded in a single operation, but to emulate this I made myself an anvil with a set angle, and a thin punch to carefully fold the materiel down the middle and create the 3D effect.
With the main hand body made I could set about creating the boss. This was all made on the Schaubliun 70 as it required turning both with a cross slide and hand graver and milling, all of which can be done on the Schaublin with the variety of accessories available.
With the basic shape achieved I used a hand graver to replicate the very recognisable ‘dished’ detail, and nickel plated the piece with the facilities we have here. Below is a comparison of my new hand to an original ATO one. Mine is a little more shiny as it’s new but I think it’s a very good representation.
And after all that, all the work is complete and ready for final testing; below you can see it with the timing and testing equipment attached to check the rate and timekeeping. Coincidentally It’s one of three ATO clocks currently in the workshop. All look different but are very beautiful in their own way.


